Translations
Click on to open the menu. The button is located in a element’s input field and input fields and . An example of the menu is represented in the figure below.
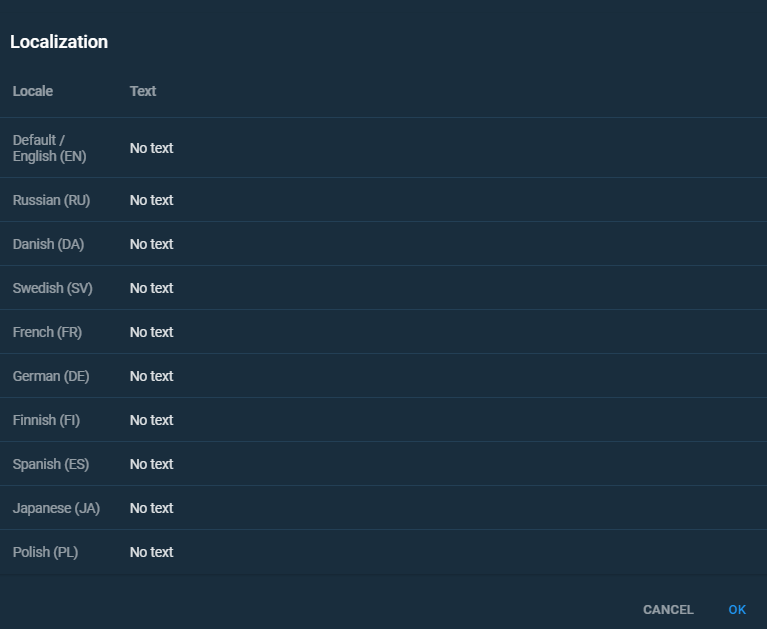
Fig. 1. Localization menu
Each Text field of the menu corresponds to a Portal (HMI View) locale which you can choose in Portal (see Personal Cloud Profile).
Enter the translations in the column of the menu. Choose the language in the Personal Cloud Profile to display the translated text.
Translation table
Translations are contained in a special table that lists terms as keys, which can be used as the i18n function arguments. To open the table, click on in the right-side header and go to → . Alternatively, there is a keyboard shortcut: Ctrl + Shift + L. Figure below illustrates the table.
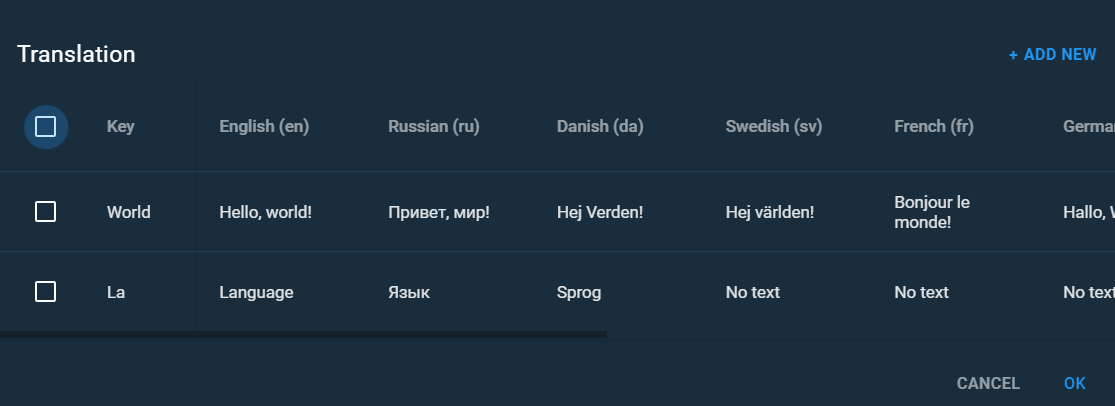
Fig. 2. Translation table
The i18n function
The function is another way to translate elements into different languages. You can call this function from the Expression Editor. The function has the following syntax:
i18n ("key", "locale")
The argument key defines the key from the table or one of the elements with translation configured via the menu. The argument locale defines the language to be displayed. If not set, this argument corresponds with the current Portal locale.
You can use an interactive help tool when typing the key argument. Type quotation marks and place the cursor between them, then press Ctrl + Space combination to open the list of available keys. As you can see in the figure below, there are custom key names configured in the table and the keys generated by the system.
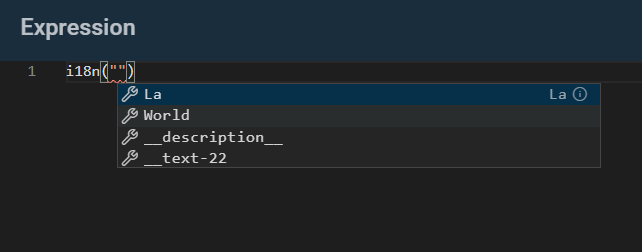
Fig. 3. List of keys